Learn how to select and install the perfect transition flooring trim to seamlessly connect different floor types and create a polished look in your home. Get expert tips and options
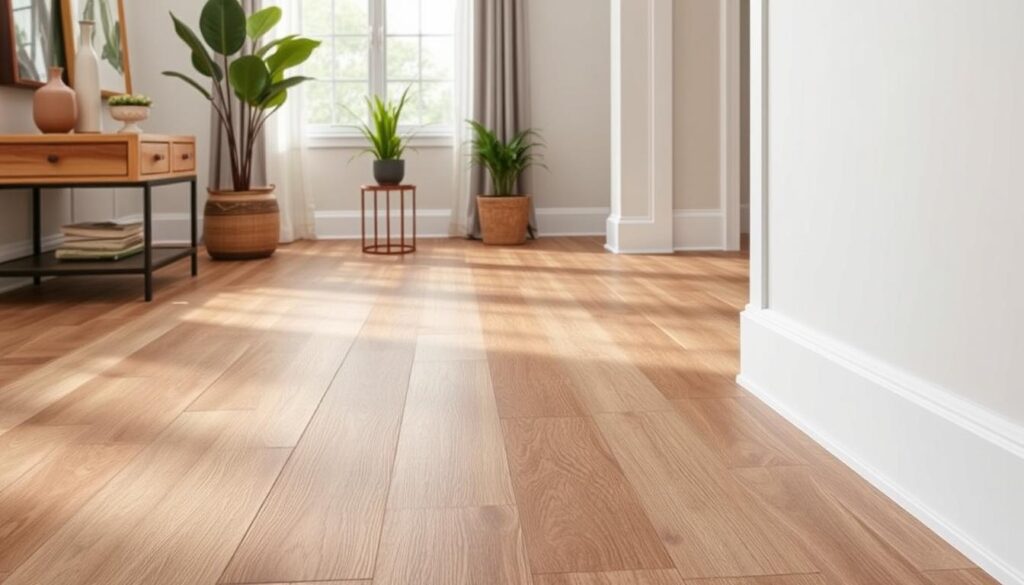
Upgrading your home’s floors is exciting but can be tricky. Seamless floor transitions are key to a unified look. The right transition flooring trim can tie your home’s design together beautifully.
Transition strips are crucial for smooth transitions between floors. They work well with hardwood, tile, and carpet. The right trim can improve your home’s look and ensure safety and function.

Key Takeaways
- Transition flooring trim is essential for connecting different floor types and maintaining a cohesive look in your home.
- Proper selection and installation of transition strips can enhance the aesthetic appeal and safety of your floors.
- Explore various trim materials, including metal, wood, vinyl, and composites, to find the perfect match for your home’s style and budget.
- Carefully measure and plan the installation process to ensure a seamless and professional-looking result.
- Consult with a professional if you’re unsure about the best transition flooring trim for your home improvement project.
At Timber Tropics, we offer top-notch transition flooring trim solutions. Our expertise ensures you find the perfect strips for your home. Contact us at +6282332572828 or email info@timbertropics.com to learn more.
Understanding Transition Flooring Trim Basics
Transition flooring trim is key to a seamless and appealing floor. These trims, like T-molding, reducer strips, and thresholds, connect different floors and manage height differences. Knowing about these essential floor transitions helps you choose the right one for your home.
Types of Floor Transitions
The most common floor transition types include:
- T-molding – Used to transition between floors of the same height, such as hardwood to hardwood or laminate to laminate.
- Reducer strip – Helps transition between floors of different heights, like hardwood to vinyl or tile.
- Threshold – Installed at doorways or entryways to bridge the gap between different floor surfaces and heights.
Common Installation Areas
Transition flooring trims are typically found in the following areas:
- Doorways and entryways
- Hallways and room dividers
- Between different flooring types, such as hardwood and tile
- Stairs and landings
Material Composition and Durability
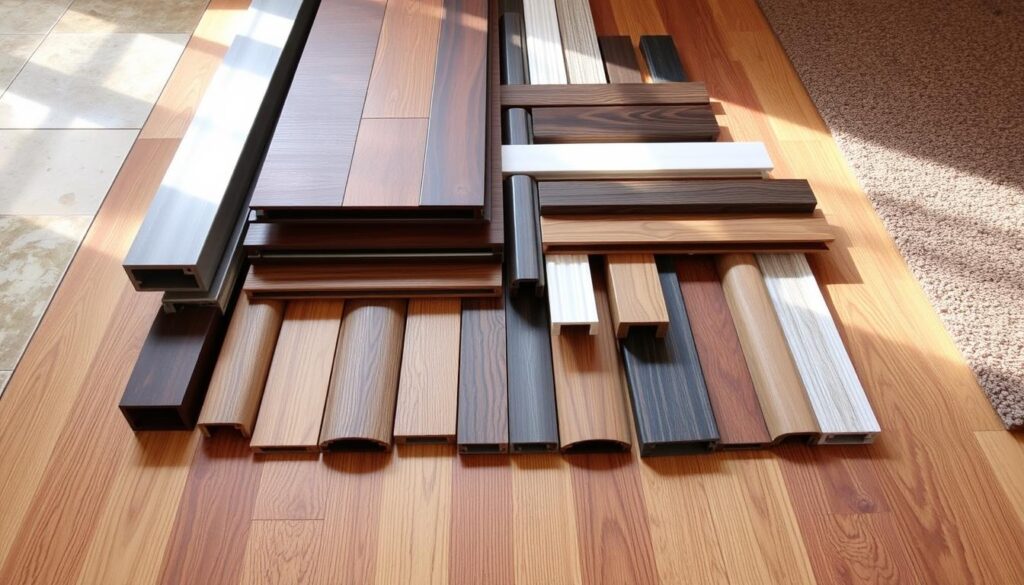
Transition trims come in various materials, each with its own durability and properties. You can choose from metal, wood, vinyl, and composite materials. The right material depends on foot traffic, moisture levels, and your style preferences for lasting beauty and function.
| Material | Durability | Moisture Resistance | Aesthetic Appeal |
|---|---|---|---|
| Metal | High | Moderate | Versatile |
| Wood | Moderate | Low | Warm and Natural |
| Vinyl | High | High | Contemporary |
| Composite | High | High | Versatile |
Understanding transition flooring trims helps you choose wisely. It ensures your home looks great and has smooth, durable transitions between floors.
Essential Measurements and Planning for Trim Installation
Getting ready for a floor transition trim installation starts with precise measurements. Accurate measurements are key for a smooth and professional finish. By planning and measuring carefully, you can avoid problems and have a smooth installation.
Measuring for Floor Transition Trim
To measure for floor transition trim, follow these simple steps:
- Measure the width of the transition area where the trim will be installed. This is the space between two flooring types, like hardwood and tile.
- Determine the length of the transition area by measuring from one side of the room to the other.
- Consider the height difference between the floors and pick a trim that fits the gap.
- Measure the thickness of your flooring to make sure the trim will be flush.
Remember to account for any irregular shapes or angles in the transition area. This might need custom-cut trim pieces.
Planning for Trim Installation
After getting the measurements, plan the installation. Think about these factors:
- Subfloor Preparation: Make sure the subfloor is clean, level, and free of debris or obstructions.
- Transition Trim Selection: Pick a trim that matches your floors’ aesthetic and meets your needs, like reducing trip hazards.
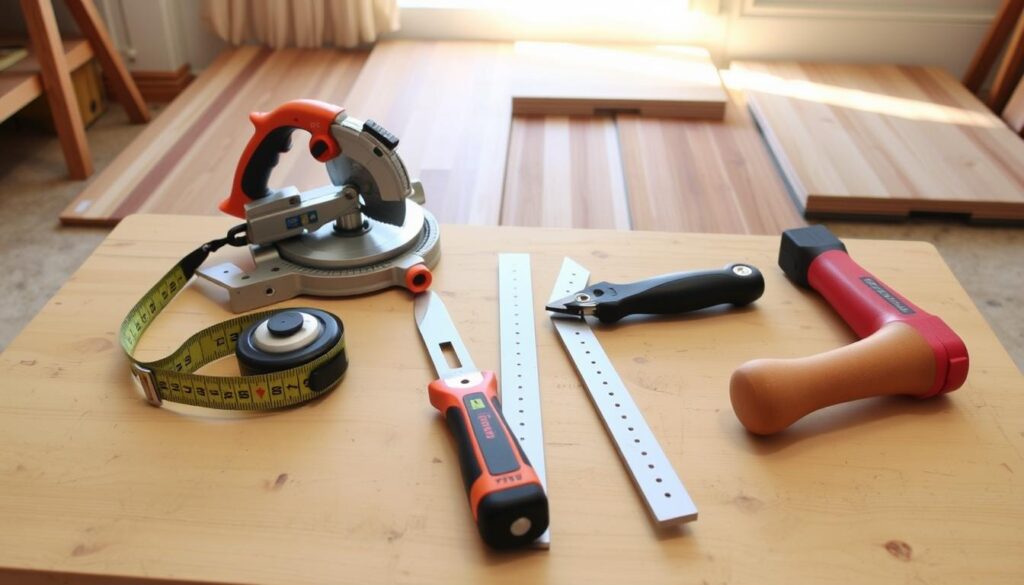
- Installation Tools: Get the right tools, like a miter saw, caulk gun, and adhesive, for a professional finish.
- Transition Trim Placement: Plan the trim layout to minimize waste and create a seamless look.
By measuring accurately and planning well, you’re set for a successful floor transition trim project.
| Measurement | Value |
|---|---|
| Transition Area Width | 3.5 inches |
| Transition Area Length | 12 feet |
| Height Difference | 1/2 inch |
| Existing Flooring Thickness | 3/4 inch |
Video source from youtube
“Accurate measurements and thoughtful planning are the keys to a successful floor transition trim installation. Taking the time upfront can save you from costly mistakes down the line.”
By following these essential steps, you’ll be on your way to a seamless and professional-looking floor transition. Remember, paying attention to detail is crucial for the best results.
Popular Materials for Transition Strips
Choosing the right transition strips for your floors can be exciting. You can pick from durable aluminum, classic hardwood, or versatile vinyl. Each material has its own benefits, fitting different styles and needs. Let’s dive into the most popular options.
Metal Transition Options
Aluminum transition strips are strong, durable, and resistant to corrosion. They offer a smooth transition between floors, perfect for busy areas. You can find them in various finishes to match your decor.
Wooden Trim Varieties
Hardwood trim adds a natural, warm touch. You can stain or paint it to match your floors, creating a unified look. It’s a classic choice that can be tailored to your taste.
Vinyl and Composite Solutions
Vinyl and composite strips are becoming more popular. They’re lightweight, easy to install, and come in many colors and patterns. They’re great for blending different flooring types, like vinyl floor transitions or hardwood trim, for a smooth finish.
| Material | Durability | Aesthetic | Cost |
|---|---|---|---|
| Aluminum transition strips | High | Modern, sleek | Moderate to high |
| Hardwood trim | Moderate to high | Traditional, warm | Moderate to high |
| Vinyl and composite solutions | Moderate | Versatile, contemporary | Low to moderate |
No matter your flooring or style, there’s a transition strip for you. Think about each material’s features to choose the best one for your home.
Color Matching and Design Considerations
Choosing the right transition flooring trim is key. It’s all about matching colors and designs. The perfect trim can make your floors look like they were meant to be together.
To get a look that flows, think about your home’s colors. Pick a trim that matches or complements your floors. This will make your trim design stand out and enhance the aesthetic transitions.
Here are some tips to make sure your transition flooring trim fits your home:
- Look at the undertones of your floors. Are they warm, cool, or neutral? Choose a trim that matches these tones.
- If you have different flooring, like hardwood and tile, find a trim that connects them well.
- Try contrasting colors or finishes for a bold look. But keep the overall design in mind.
- Think about your home’s style. Is it modern, traditional, or rustic? Pick a trim that fits your décor.
“The right transition flooring trim can transform a room, elevating the overall design and creating a polished, professional look.”
| Flooring Material | Recommended Transition Trim |
|---|---|
| Hardwood | Oak, maple, or cherry wood trim |
| Tile | Metal or stone trim |
| Laminate | Vinyl or aluminum trim |
| Luxury Vinyl Plank (LVP) | Vinyl or rubber trim |
Think carefully about flooring color coordination, trim design, and aesthetic transitions. This will help you achieve a smooth and beautiful look in your home. The right trim can really elevate your interior design.

Transition Flooring Trim for Different Floor Heights
Uneven floors can be a big challenge when installing transition strips. But, there are good ways to handle these differences. This ensures a smooth and nice-looking finish.
Managing Uneven Surfaces
To successfully transition between floors, first find and fix the problem areas. Start by measuring the height differences carefully. Look for any sudden drops or high spots that could be tripping hazards.
Height Adjustment Techniques
There are several ways to adjust the transition strip for different heights. For small differences, a low-profile transition strip works well. For bigger gaps, consider a subfloor riser or leveling compound to even out the surfaces.
Professional Installation Tips
If you’re not sure about installing it yourself, get help from a professional flooring contractor. They can figure out your specific needs, suggest the best solutions, and make sure it’s done right.
| Floor Height Difference | Recommended Solution |
|---|---|
| 1/4 inch or less | Low-profile transition strip |
| 1/4 to 1/2 inch | Subfloor riser or leveling compound |
| Greater than 1/2 inch | Consult a professional flooring contractor |
Fixing uneven floors and making a smooth transition is key for safety and looks. Knowing the solutions and best practices helps create a beautiful flooring layout in your home.
DIY Installation Guidelines and Tools Required
Starting a DIY floor transition project can be very rewarding. It lets you make your home unique and save money. You’ll need the right tools and a clear guide to succeed. Here, we’ll give you the basics to confidently start your DIY floor transition project.
Necessary Tools for Transition Trim Installation
- Measuring tape
- Pencil or marker
- Saw (miter saw, hacksaw, or oscillating tool)
- Drill and drill bits
- Hammer or mallet
- Pry bar or putty knife
- Adhesive (if required)
- Sandpaper (for wooden trims)
Having the correct trim installation tools makes your job easier. It ensures your work looks professional, no matter the material.
Step-by-Step DIY Installation Guide
- Measure the transition area and cut the trim to size with your saw.
- Get the installation surface ready by cleaning and leveling it, if needed.
- Use adhesive or screws/nails to secure the trim, following the manufacturer’s guide.
- Make sure the trim fits well with the flooring and is securely in place.
- For wooden trims, sand and finish with stain or paint to match your decor.
By following this step-by-step guide, you can create a professional DIY floor transition. It will smoothly connect your flooring materials.

Remember, good preparation and the right trim installation tools are crucial. If you’re unsure, get professional advice. With the right tools and patience, you can beautifully update your home’s flooring transition.
“Proper preparation and the right tools are the keys to a successful DIY floor transition project.”
Maintenance and Care Tips for Floor Transitions
Keeping your floor transition strips in good shape is key. It helps them last longer and look great in your home. We’ll cover the basics of cleaning, preventive care, and when it’s time for a new one.
Cleaning Methods
Start by cleaning your transition strips regularly. Use a soft, damp cloth to wipe away dirt and dust. Don’t use harsh chemicals or rough cleaners, as they can harm the material.
For tough stains, use a mild cleaner made for your strip’s material. This will help keep it looking new.
Preventive Measures
- Place mats or rugs on both sides of the transition to protect it from heavy foot traffic.
- Check the strip often for signs of wear like scratches or loose edges. Fix these quickly to avoid more damage.
- Apply a thin layer of sealant or polish to metal or wood strips to keep their finish shiny.
When to Replace
Even with good care, transition strips may need to be replaced. Look for signs like big stains, damage, or a strip that’s not fitting right anymore. Replacing it when needed keeps your floors looking good.
By following these tips, you can make your transition strips last longer. If you need help or professional installation, reach out to Timber Tropics (Phone Number: +6282332572828, Email: info@timbertropics.com).
| Cleaning Methods | Preventive Measures | When to Replace |
|---|---|---|
| Gentle wiping with a soft, damp cloth Use of mild, non-acidic cleaners Avoid harsh chemicals and abrasives | Protect with mats or rugs Inspect for wear and tear Apply protective sealant or polish | Significant discoloration Extensive damage Loose fit compromising transition |
Cost Considerations and Budgeting
The transition trim can greatly affect your flooring project’s budget. Prices for transition flooring trim vary based on several factors. Knowing these can help you plan your budget and find affordable options.
Factors Affecting Transition Trim Pricing
- Material composition: Transition trims are made from materials like metal, wood, vinyl, and composite. The material you choose greatly impacts the price.
- Length and size: Longer or wider transition strips cost more than shorter or narrower ones.
- Finish and design: Decorative or specialty finishes and intricate designs raise the cost.
- Installation complexity: Strips needing complex installation, like those with locking mechanisms, may cost more for labor.
Budgeting for Transition Trims
Make sure to include a part of your flooring budget for transition trim. Expect to spend $2 to $10 per linear foot for quality trims. The exact cost will depend on the factors mentioned.
| Transition Trim Type | Average Cost per Linear Foot |
|---|---|
| Basic Metal Transition | $2 – $4 |
| Wood or Laminate Transition | $4 – $6 |
| Premium Vinyl or Composite Transition | $6 – $10 |
By considering these costs and budgeting, you can find the right transition trim. It will fit your budget and ensure a professional-looking finish.
Professional vs DIY Installation: Making the Right Choice
Choosing between professional floor installation experts and doing it yourself is a big decision. Both options have their pros and cons. It’s important to think carefully before deciding.
Professional transition strip experts are great for a smooth and lasting installation. They have the skills, tools, and experience to do it right. They can also give you tips to get the look and function you want.
Going the DIY route can save money and let you work on the project yourself. If you’re good at home improvement and have time, it can be a fun project.
Whether to choose professional floor installation or DIY depends on your skills, the project’s complexity, and what you prefer. Think about the time, cost, and risks of each option to make the best choice for you.
Need help or want to try DIY? Contact Timber Tropics at +6282332572828 or info@timbertropics.com. They can help you choose the right transition flooring trim for your home.
Conclusion
Choosing the right transition flooring trim is key to a nice and useful home. We’ve covered the basics, like the types and where to use them. We also talked about materials and how long they last. With the right measurements and design, your floors will look great together.
There are many options, like metal, wood, vinyl, or composite. Finding the perfect fit for your home is easy. Making sure the floors meet smoothly is important for a nice look. You can do it yourself with the right tools and advice.
To keep your transition flooring looking good, know how to clean and maintain it. This way, your home will stay beautiful and functional for a long time. For more help or questions, call us at +6282332572828 or email info@timbertropics.com. Our experts are ready to help you find the best flooring solution.
FAQ
What are the different types of floor transition strips available?
There are several types of floor transition strips. T-molding, reducer strips, thresholds, and end caps are the most common. Each is designed to connect different flooring surfaces smoothly.
Where should I install floor transition strips?
You should install transition strips in doorways and between rooms with different floors. They’re also needed at the edges of staircases to ensure a smooth surface.
What materials are transition strips made of?
Transition strips come in various materials. You can find them in metal, wood, vinyl, and composite. Each material has its own benefits, like durability and aesthetic appeal, and different costs.
How do I measure and plan for transition strip installation?
Measuring the transition area accurately is key. You need to know the width and height differences. Planning ahead is important for a proper fit.
What factors should I consider when choosing the color and design of my transition strips?
Choose transition strips that match your flooring and interior design. This will help create a cohesive look in your home.
How do I install transition strips properly?
For a DIY installation, you’ll need tools like a miter saw, adhesive, and fasteners. Follow step-by-step instructions for your specific strip and flooring.
How do I maintain and care for my transition strips?
Regular cleaning is important. Use the right cleaning methods for your material. Fix any gaps or cracks quickly to extend their life.
How much do transition strips typically cost, and how do I budget for them?
The cost of transition strips varies by material, size, and brand. Including them in your flooring budget can help achieve a cohesive look.
When should I consider hiring a professional for transition strip installation?
If you’re dealing with complex installations or unsure about DIY, consider a professional. They can ensure a seamless and durable finish.
Related article : Shop Plastic Floor Covering for Your Home | Best Prices
