Learn the secrets to a seamless reddish hardwood flooring installation with our step-by-step guide.
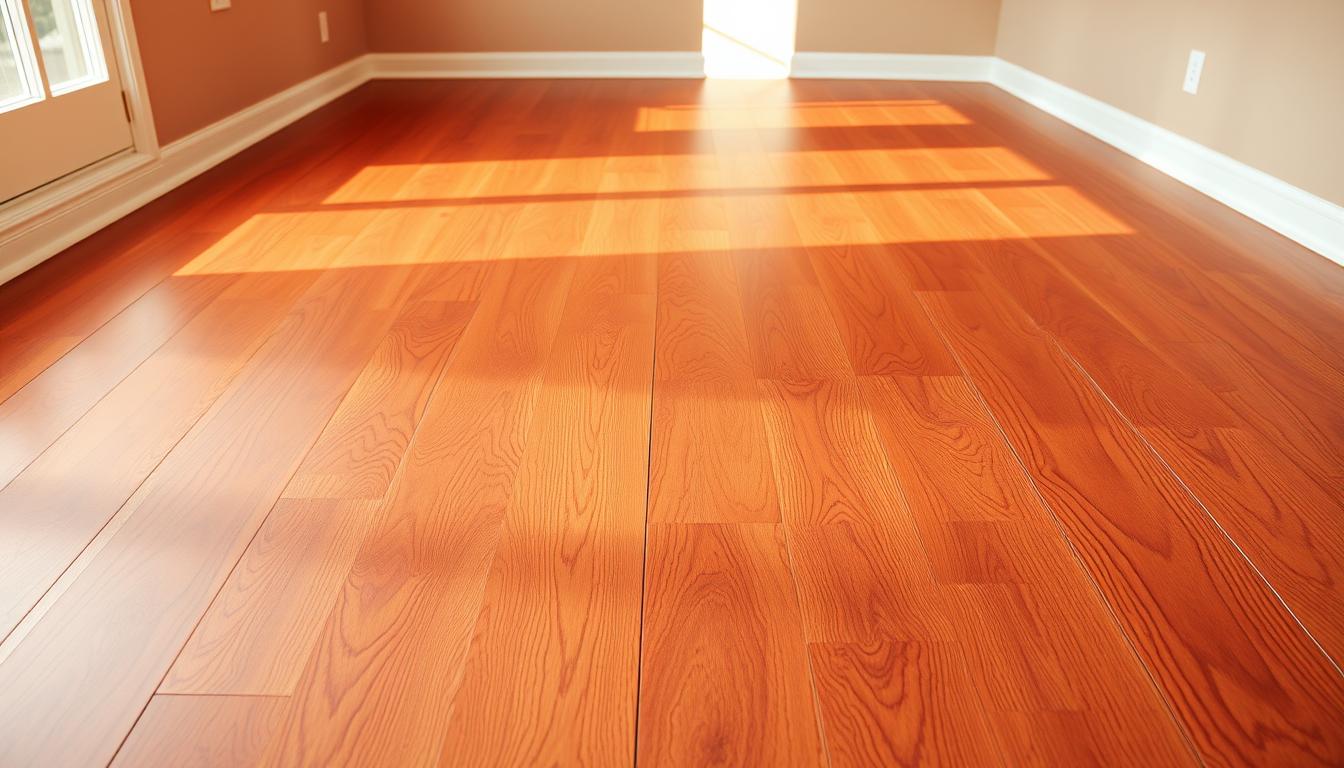
Reddish hardwood flooring adds warmth and elegance to any home, making it a popular choice among homeowners. Its aesthetic appeal can significantly enhance the overall ambiance of a room.
A flawless installation is crucial to achieving the desired look and ensuring the longevity of the flooring. This article will provide a comprehensive guide on how to install reddish hardwood flooring correctly, covering essential tips and best practices.
Key Takeaways
- Understanding the importance of proper subfloor preparation
- Choosing the right underlayment for your hardwood flooring
- Tips for a successful installation process
- Common mistakes to avoid during flooring installation
- Maintenance tips to keep your reddish hardwood flooring looking its best
The Beauty and Benefits of Reddish Hardwood Flooring
Homeowners are increasingly drawn to reddish hardwood flooring for its unique blend of beauty and durability. This type of flooring not only adds a touch of warmth and elegance to a room but also provides a long-lasting solution that can withstand the test of time.
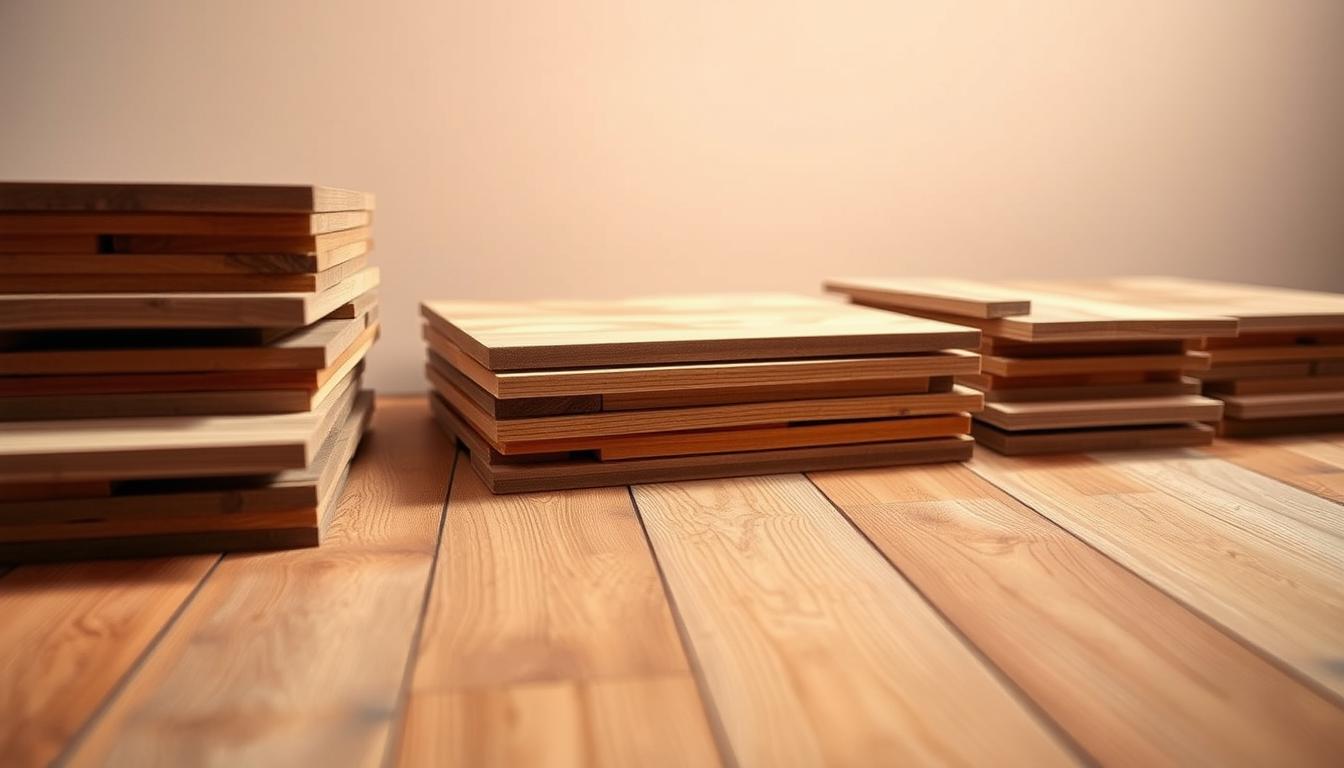
Popular Red-Toned Wood Species
Some of the most popular red-toned wood species used for hardwood flooring include red oak, cherry, and mahogany. These woods are prized for their rich, vibrant colors and distinctive grain patterns.
Aesthetic Appeal and Design Versatility
Reddish hardwood flooring offers a wide range of aesthetic possibilities, from traditional to modern designs. It can complement various decorating styles, creating a cohesive look that enhances the overall ambiance of a room.
Durability and Value Considerations
In addition to its aesthetic appeal, reddish hardwood flooring is also valued for its durability and potential to increase a home’s value. With proper hardwood floor care, these floors can last for decades, making them a worthwhile investment for homeowners.
| Wood Species | Color Tone | Durability |
|---|---|---|
| Red Oak | Warm Red | High |
| Cherry | Rich Red-Brown | High |
| Mahogany | Deep Red | Very High |
“The beauty of hardwood flooring lies in its ability to bring warmth and character to a room, while also providing a durable and long-lasting surface.”
Pre-Installation Planning and Assessment
To ensure a smooth installation process, it’s essential to conduct thorough pre-installation planning for your reddish hardwood flooring. This critical step involves several key considerations that will significantly impact the overall quality and durability of your new floors.
Pre-installation planning is not just about measuring the space; it’s about assessing the environment and preparing the subfloor. By doing so, you can avoid common pitfalls that lead to costly rework or damage to your hardwood floors.
Measuring Your Installation Area Accurately
Accurate measurements are crucial for a successful hardwood flooring installation. Measure each room where the flooring will be installed, taking note of any obstructions, such as heating vents or doorways. Use a calculator to determine the total square footage, and consider adding 10% to 15% to your total to account for cuts and potential waste.
Video source from youtube
Evaluating Subfloor Conditions
The condition of your subfloor plays a significant role in the success of your wood floor installation. Ensure the subfloor is level, clean, and dry. Any significant cracks or unevenness should be addressed before proceeding with the installation. This step is critical for preventing future issues such as creaking or uneven flooring.
Considering Room Humidity and Temperature Factors
Reddish hardwood flooring is sensitive to environmental conditions, particularly humidity and temperature. It’s essential to assess the average humidity and temperature levels in your home to ensure they are within the recommended range for hardwood flooring. This consideration will help prevent issues such as warping or shrinking.
By carefully measuring your installation area, evaluating subfloor conditions, and considering environmental factors, you can ensure a flawless installation of your reddish hardwood flooring.
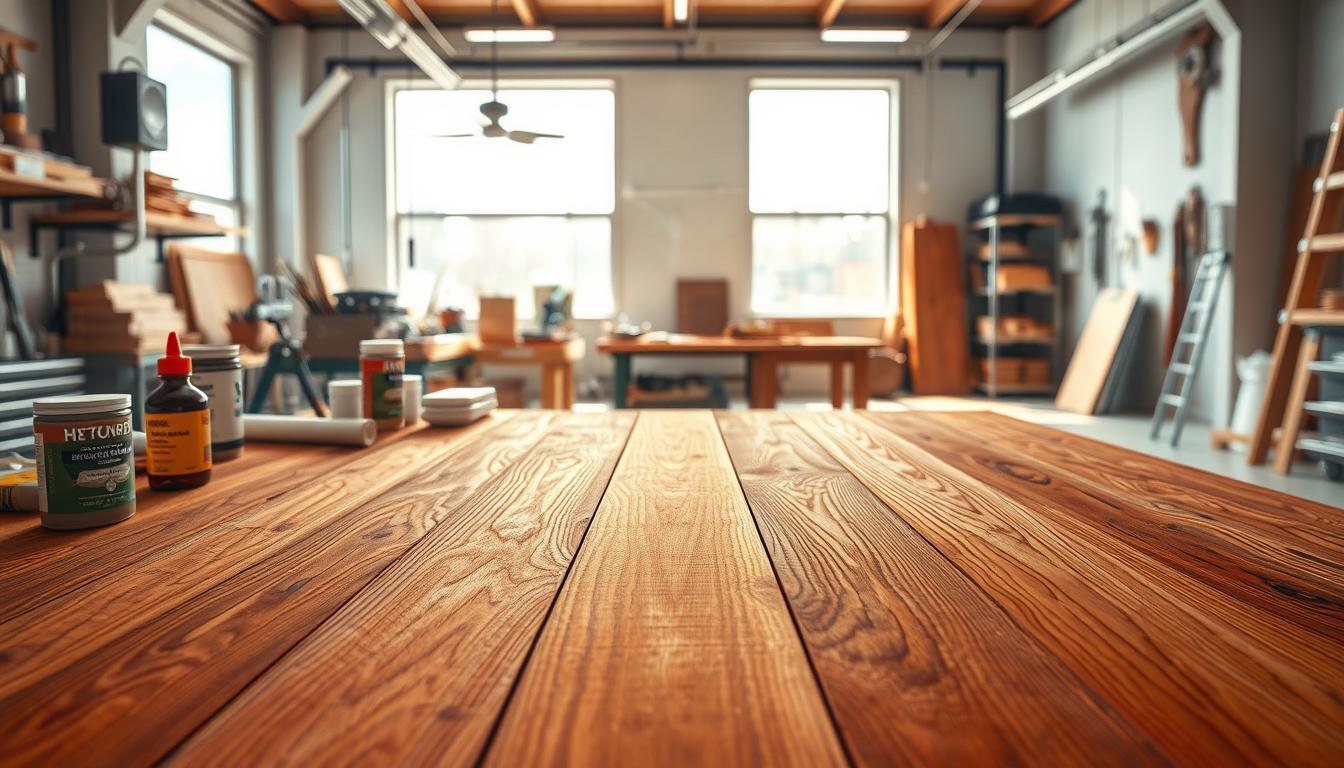
Essential Tools and Materials for Perfect Installation
The key to a perfect hardwood flooring installation lies in the preparation and the tools used. A well-prepared installer with the right equipment can ensure a flawless and durable hardwood floor.
Must-Have Installation Tools
To start your hardwood flooring installation project, you’ll need specific tools. These include a tapping block, a pull bar, a mallet, and a table saw or circular saw for cutting wood. A moisture meter is also crucial for checking the moisture content of both the hardwood and the subfloor.
Required Materials and Fasteners
The materials required for wood floor installation tips include the hardwood flooring itself, underlayment materials (such as plywood or cement-based underlayment), and fasteners like nails or staples. The choice between nails and staples depends on the type of hardwood and the subfloor.
As emphasized by a renowned flooring expert, “The quality of the materials and fasteners used can significantly impact the longevity and appearance of the hardwood floor.”
“Investing in high-quality materials may seem costly upfront, but it pays off in the long run through reduced maintenance and a longer lifespan for your hardwood floors.”
Safety Equipment Recommendations
Safety should not be overlooked during hardwood flooring installation. Essential safety equipment includes safety glasses, ear protection, dust masks, and knee pads. Ensuring a safe working environment is crucial for a successful installation.
By having the right tools, materials, and safety equipment, you can ensure a professional-looking hardwood floor that will last for years to come.
Proper Acclimation Techniques for Reddish Hardwood Flooring
Acclimating reddish hardwood flooring is a critical step that ensures its durability and aesthetic appeal. Proper acclimation involves allowing the hardwood to adjust to the temperature and humidity conditions of the installation site.
Optimal Acclimation Timeframes
The optimal acclimation timeframe for reddish hardwood flooring typically ranges from a few days to a week. It’s essential to follow the manufacturer’s guidelines for specific acclimation periods to ensure the flooring adjusts properly.
Creating Ideal Environmental Conditions
To acclimate reddish hardwood flooring effectively, the installation area should be maintained at a consistent temperature between 60°F to 80°F (15°C to 27°C) and relative humidity levels between 35% to 55%. Maintaining these conditions helps prevent warping or shrinkage.
Monitoring Moisture Content Effectively
Monitoring the moisture content of both the subfloor and the hardwood flooring is crucial. Using a moisture meter can help determine if the flooring has acclimated properly. The ideal moisture content should be within the manufacturer’s recommended range.
By understanding and implementing proper acclimation techniques, homeowners can ensure their reddish hardwood flooring installation is successful and long-lasting.
Comprehensive Subfloor Preparation
A well-prepared subfloor is the foundation of a flawless reddish hardwood flooring installation. It ensures that the flooring will be stable, durable, and visually appealing.
Cleaning and Leveling the Subfloor
Before installing reddish hardwood flooring, the subfloor must be thoroughly cleaned and leveled. This involves removing any debris, dirt, or old adhesive that could interfere with the installation process. Proper subfloor preparation
Installing Moisture Barriers
Moisture can be a significant threat to hardwood flooring, causing warping, buckling, or discoloration. Installing moisture barriers is essential to protect the flooring from moisture-related issues. This is particularly important in areas prone to high humidity or water exposure.
Addressing Structural Issues Before Installation
Any structural issues with the subfloor, such as cracks or unevenness, must be addressed before installing reddish hardwood flooring. This may involve filling gaps or cracks with a suitable filler or making adjustments to the subfloor to ensure it is level and stable. By doing so, you can ensure a successful installation and a beautiful, long-lasting floor.
Step-by-Step Reddish Hardwood Flooring Installation
To ensure a professional-looking result, it’s crucial to follow a systematic approach when installing reddish hardwood flooring. This involves several key steps, from planning your layout to securing the final row of hardwood.
Planning Your Layout Pattern
Before starting the installation, plan your layout pattern carefully. This involves deciding on the direction of the flooring and ensuring that the pattern will be visually appealing and balanced. Typically, hardwood flooring is installed parallel to the longest wall in the room. Consider using a graph paper to sketch out your plan, taking into account the location of doorways, heating vents, and other obstacles.
Installing the First Row Correctly
The first row sets the foundation for the entire installation. Begin by establishing a straight line along the longest wall, using a chalk line to guide you. Install the first row of hardwood planks along this line, ensuring that the tongue side faces the wall. Use spacers to maintain an expansion gap between the flooring and the wall.
It’s crucial to check for straightness and adjust as necessary. The first row’s accuracy will significantly impact the overall appearance of the flooring.
Securing Subsequent Rows Properly
For subsequent rows, stagger the joints to enhance the floor’s stability and aesthetic appeal. Use a pull bar and tapping block to tap the planks into place, ensuring a snug fit. Continue installing row by row, working your way across the room.
As you install, check for any irregularities in the subfloor and adjust your installation accordingly. Properly securing each row is vital for a durable and attractive hardwood floor.
Working Around Obstacles and Doorways
When encountering obstacles such as heating vents or doorways, carefully measure and cut the hardwood planks to fit around them. Use a jigsaw or coping saw for precise cuts. Ensure that the flooring fits snugly around these areas, maintaining the expansion gap where necessary.
By following these steps and paying close attention to detail, you can achieve a beautiful, professionally installed reddish hardwood floor that enhances your home’s beauty and value.
Finishing Touches for Professional Results
For a truly professional result, the finishing touches on your reddish hardwood flooring are essential. These final steps not only enhance the aesthetic appeal of your new floors but also ensure their durability and longevity.
Installing Trim and Moldings
Installing trim and moldings is a critical step in completing the look of your reddish hardwood flooring. Trim and moldings cover the expansion gaps around the perimeter of the room, giving the flooring a finished appearance. To install them effectively, use a miter saw to cut precise angles, and secure them with a nail gun or adhesive, depending on the type of trim.
- Measure the room’s perimeter to determine the amount of trim needed.
- Cut the trim to size using a miter saw for precise angled cuts.
- Secure the trim using a nail gun or appropriate adhesive.
Filling Gaps and Nail Holes
Filling gaps and nail holes is necessary to achieve a smooth, even surface. Use a wood filler that matches the color of your reddish hardwood flooring to fill in these imperfections. Apply the filler with a putty knife, and let it dry according to the manufacturer’s instructions before sanding it down to a smooth finish.
Final Sanding and Cleaning Procedures
The final sanding process involves lightly sanding the entire floor to remove any minor imperfections or dust. Final sanding ensures that the floor is smooth and ready for finishing. After sanding, thoroughly clean the floor to remove any dust or debris, using a vacuum cleaner and a damp mop.
By following these finishing touches, you can achieve a professional-looking result that enhances the beauty and durability of your reddish hardwood flooring.
Sealing and Enhancing Red Wood Tones
The process of sealing and enhancing red wood tones involves several key steps, starting with the selection of an appropriate finish. Reddish hardwood flooring is not only aesthetically pleasing, but it also requires careful maintenance to preserve its color and durability.
Choosing the Right Finish to Preserve Color
Selecting the right finish is crucial for maintaining the vibrant red tones of your hardwood flooring. Different finishes offer varying levels of sheen and protection. For instance, oil-based polyurethane is known for its durability and rich finish, while water-based polyurethane dries faster and has less odor. Choosing between them depends on your specific needs and preferences.
Some popular finish options include:
- Oil-based polyurethane
- Water-based polyurethane
- Water-based oil modified polyurethane
- Nano-ceramic finishes
Application Techniques for Even Coverage
Applying the finish evenly is as important as choosing the right type. Proper application techniques ensure that the finish enhances the wood tones without causing unevenness or bubbles. It’s recommended to apply the finish in thin coats, allowing each coat to dry before applying the next.
According to flooring experts, “The key to a flawless finish is in the preparation and application. Ensuring the floor is clean and dust-free before applying the finish is crucial.”
“A well-finished floor is not just about aesthetics; it’s also about protection against wear and tear.”
| Finish Type | Drying Time | Durability |
|---|---|---|
| Oil-based Polyurethane | 24-48 hours | High |
| Water-based Polyurethane | 2-4 hours | Medium |
| Nano-ceramic Finish | 1-2 hours | High |
Drying and Curing Requirements
After applying the finish, it’s essential to follow the recommended drying and curing times. Drying time refers to the time it takes for the finish to dry to the touch, while curing time is the time it takes for the finish to fully harden. Factors such as humidity and temperature can significantly affect these times.
By carefully selecting the right finish, applying it correctly, and allowing adequate drying and curing time, you can enhance and preserve the beauty of your red wood flooring for years to come.
Maintaining the Vibrant Color of Your Reddish Hardwood Floors
Maintaining the vibrant color of your reddish hardwood floors requires a combination of daily care and periodic maintenance. Proper care can help preserve the beauty and integrity of your floors, ensuring they remain a stunning feature in your home for years to come.
Daily Care Routines
Daily care is essential to maintain the appearance of your reddish hardwood floors. Regular sweeping or vacuuming can help remove dirt and debris that can scratch the surface. It’s also important to clean spills immediately to prevent damage. Use a hardwood floor cleaner that is suitable for your floor type, and avoid using excessive water, which can damage the wood.
- Use a microfiber mop for effective cleaning
- Avoid using harsh chemicals or abrasive cleaners
- Dry the floor thoroughly after cleaning
Preventing Sun Damage and Color Fading
Sunlight can cause significant damage to reddish hardwood floors, leading to fading and discoloration. Using UV-blocking window treatments can help minimize the impact of sunlight. Rearranging your furniture periodically can also help distribute the sun’s effects evenly across the floor.
“UV-blocking window treatments can significantly reduce the fading of hardwood floors.”
Periodic Maintenance for Lasting Beauty
In addition to daily care, periodic maintenance is necessary to keep your reddish hardwood floors looking their best. This includes reapplying finish as needed and inspecting the floors for any signs of wear or damage. Regularly checking and maintaining the floors can help prevent minor issues from becoming major problems.
| Maintenance Task | Frequency | Benefits |
|---|---|---|
| Cleaning | Daily/Weekly | Removes dirt and debris |
| Reapplying Finish | Every 5-10 years | Protects the wood and maintains appearance |
| Inspection | Annually | Identifies potential issues early |
Conclusion: Enjoying Your Beautiful New Floors
With your reddish hardwood flooring installation complete, you can now appreciate the warmth and beauty it brings to your home. Proper wood floor care is essential to maintain its vibrant color and ensure longevity. Regular cleaning and maintenance, as discussed earlier, will help preserve the aesthetic appeal of your floors.
By following the tips outlined in this article, you’ve not only achieved a flawless hardwood flooring installation but also ensured that your reddish hardwood floors remain a stunning feature in your home for years to come. Enjoy the enhanced beauty and value they bring to your living space.
To keep your floors looking their best, remember to address any issues promptly and continue with the recommended wood floor care routines. With the right maintenance, your reddish hardwood flooring will continue to be a beautiful and durable part of your home.
FAQ
What are the most popular types of reddish hardwood flooring?
Some of the most popular types include Brazilian cherry, red oak, and mahogany, known for their rich, reddish tones and durability.
How do I choose the right finish for my reddish hardwood flooring?
Choosing the right finish depends on the type of wood, desired color enhancement, and level of sheen. Oil-based polyurethane and water-based polyurethane are popular choices for preserving the color and enhancing the red tones.
What is the importance of acclimating hardwood flooring before installation?
Acclimating hardwood flooring allows the wood to adjust to the installation environment’s humidity and temperature, reducing the risk of warping or shrinking after installation.
How do I maintain the vibrant color of my reddish hardwood floors?
Regular cleaning, using felt pads on furniture legs, and applying a UV-resistant finish can help maintain the color. Additionally, using area rugs and curtains can help prevent sun damage.
Can I install reddish hardwood flooring over my existing floor?
It’s generally recommended to remove the existing flooring before installing hardwood to ensure a stable and level subfloor. However, in some cases, hardwood can be installed over existing flooring if it’s in good condition and meets certain criteria.
How often should I inspect and maintain my subfloor?
Regular inspections are crucial, especially before installation. Check for signs of moisture damage, unevenness, or structural issues, and address these problems before proceeding with the hardwood flooring installation.
What are the benefits of using a moisture barrier under my hardwood flooring?
A moisture barrier protects the hardwood from moisture rising from the subfloor, reducing the risk of warping, buckling, or rotting, and ensuring a longer lifespan for the flooring.
How can I prevent gaps between my hardwood floorboards?
Proper acclimation, using the correct fastening system, and maintaining a stable indoor climate can help minimize gaps between floorboards.
Read also : Seamless 3 4 Prefinished Hardwood Flooring Installation: A DIY How-To