Discover the perfect red oak wood stain for your project. Get expert tips on color selection, application methods, and finish types to achieve stunning results for your wooden surfaces
Enhance the beauty of your red oak surfaces with the right wood stain. Whether it’s refinishing furniture, updating floors, or adding warmth to your home’s exterior, the perfect stain color matters. Explore the wide range of red oak wood stains to find the perfect match for your project.

The world of red oak wood stains is vast, from classic to modern. Knowing the unique qualities of red oak helps you choose wisely. This ensures a finish that lasts. Let your creativity shine by choosing the perfect stain for your red oak surfaces.
Need expert advice? Contact Timber Tropics today. Call +6282332572828 or email info@timbertropics.com. Our wood finishing specialists will help you pick the best red oak wood stain for your project.
Understanding Red Oak Properties and Staining Characteristics
Staining red oak wood requires knowing its special properties for the perfect finish. The red oak grain and how it absorbs stain are key. They help show the wood’s natural beauty.
Wood Grain Pattern and Absorption Rate
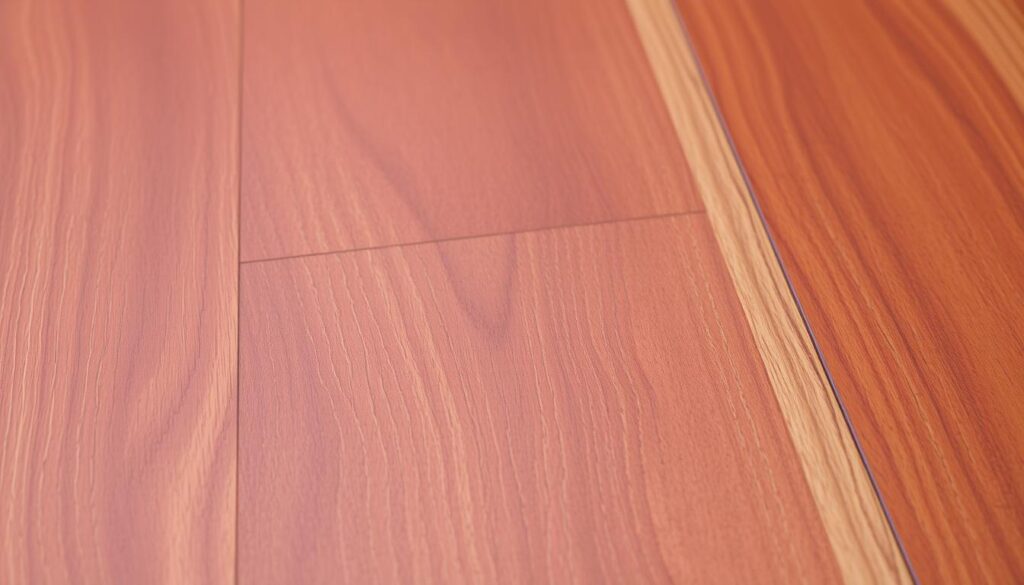
Red oak has a bold, open grain that affects stain penetration. Its natural grain structure lets stain highlight the wood’s texture and depth. It’s important to prepare and apply stain correctly for an even finish.
Natural Color Variations in Red Oak
Red oak is known for its natural color variations. It can be light tan to deep reddish-brown, with subtle hues. These colors affect the stained surface’s look, making it unique and authentic.
Knowing red oak’s properties helps predict staining results. It lets you choose the right stain color. This way, you can achieve a stunning and lasting finish.
“The beauty of red oak lies in its distinct grain pattern and natural color variations, which can be expertly highlighted through the right staining techniques.”
Popular Red Oak Wood Stain Colors for 2024
Homeowners and designers are excited for the new year’s red oak wood stains. The modern wood colors for 2024 will change your red oak surfaces. They will match many interior design styles.
A deep, moody charcoal gray is a top red oak finish for 2024. It’s sophisticated and great with minimalist or industrial decor. Dark walnut stain is also popular, adding warmth and depth to any project.
For a lighter look, try a soft, whitewashed finish. It’s perfect for coastal or Scandinavian-style spaces. A honey-toned stain also highlights red oak’s natural beauty, offering a rustic feel.
| Stain Color | Design Style | Undertone |
|---|---|---|
| Charcoal Gray | Minimalist, Industrial | Cool, Sophisticated |
| Dark Walnut | Traditional, Transitional | Warm, Inviting |
| Whitewash | Coastal, Scandinavian | Light, Airy |
| Honey | Rustic, Farmhouse | Golden, Natural |
The trending wood stains for 2024 have something for everyone. Whether you like modern or rustic, these stains will enhance your red oak surfaces. Update your space with the latest modern wood colors and timeless finishes.
Video source from Youtube
Factors to Consider When Selecting Your Red Oak Wood Stain
Choosing the right wood stain for your red oak project is important. You need to think about where it will go and how long it will last. Each choice affects the final look.
Interior vs Exterior Applications
First, decide if your red oak will be inside or outside. Indoor stains make the wood look beautiful and warm. Outdoor stains need to protect against sun, rain, and more.
Light Exposure Considerations
Think about how much light your stained red oak will get. If it’s in direct sunlight or bright rooms, choose a stain with strong UV protection. This helps prevent fading and color change.
Durability Requirements
Lastly, think about how much wear your red oak will get. Busy areas or things that get used a lot need a durable wood finish. This finish can handle daily use better.
| Consideration | Indoor Stains | Outdoor Stains |
|---|---|---|
| Application | Focus on enhancing natural beauty | Provide protection against elements |
| UV Protection | Less critical | Highly important to prevent fading |
| Durability | Moderate wear and tear | High resistance to weathering and traffic |
By thinking about these points, you can pick the perfect stain for your red oak. It will look great and last a long time. For help, call our experts at Timber Tropics at +6282332572828 or info@timbertropics.com.
Oil-Based vs Water-Based Stains for Red Oak
Choosing between oil-based and water-based stains for red oak surfaces is crucial. Each type has its own benefits. Knowing these can help you decide what’s best for your project.
Oil-Based Stains for Red Oak
Oil-based stains are a favorite among woodworkers. They provide deep colors and make the grain stand out. They’re also very durable. But, they take longer to dry and need special cleaning with mineral spirits.
Water-Based Stains for Red Oak
Water-based stains are easier to use. They dry quickly, have less smell, and clean up with soap and water. They’re great for a natural look. They might not be as rich as oil-based stains, but they’re better for the environment.
| Feature | Oil-Based Stains | Water-Based Stains |
|---|---|---|
| Color Depth | Rich, deep color penetration | Muted, more uniform color |
| Drying Time | Longer drying time | Faster drying time |
| Odor | Stronger, more pungent odor | Lower odor |
| Cleanup | Requires mineral spirits or paint thinners | Soap and water cleanup |
| Durability | Excellent long-term durability | Good durability, but may require more frequent maintenance |
The choice between oil-based and water-based stains depends on your needs. Think about the project’s use, the look you want, and your skill level. This will help you choose the right stain for your red oak.
Need more advice? Contact Timber Tropics at +6282332572828 or info@timbertropics.com. We’re ready to help you get the perfect stained red oak finish.
Professional Application Techniques for Red Oak Wood Stain
Improve your wood staining skills with expert methods for red oak. The first step is to prepare the surface well. Start by cleaning the wood, removing old finishes, and sanding it to make it smooth.
Surface Preparation Steps
- Clean the wood surface to remove dirt, grease, or other contaminants.
- Sand the wood, starting with a coarse grit (80-100) and gradually moving to a finer grit (120-180) to achieve a smooth finish.
- Wipe away any wood dust with a clean, lint-free cloth.
- Apply a wood conditioner or pre-stain treatment to help the stain penetrate evenly.
Application Methods and Tools
You have several ways to apply wood stain. Use a high-quality brush, foam applicator, or sprayer for even coverage. Work the stain into the wood grain in the direction of the wood’s natural pattern, avoiding drips or pooling.
| Application Method | Pros | Cons |
|---|---|---|
| Brush | Allows for precise control and blending | Can leave visible brush strokes |
| Foam Applicator | Provides a smooth, even finish | May absorb more stain, leading to uneven coverage |
| Sprayer | Offers a fast, efficient application | Requires more skill to achieve an even finish |
Drying and Curing Times
After applying the stain, let it dry and cure properly. Follow the manufacturer’s instructions for drying and curing times. Generally, wait 12-24 hours for the stain to dry before adding more coatings or touching the surface.
Mastering these techniques will help you achieve a beautiful, lasting finish on your red oak surfaces. Always work safely and in a well-ventilated area. For more help, contact us at +6282332572828 or info@timbertropics.com.
Common Mistakes to Avoid When Staining Red Oak
Staining red oak can be a rewarding DIY project. But, it’s important to avoid common mistakes that can ruin the finish. As an expert in wood finishes, I’ve seen many wood staining errors and stain application mistakes homeowners make. By knowing these issues and taking the right steps, you can troubleshoot wood finishes and get a flawless result on your red oak surfaces.
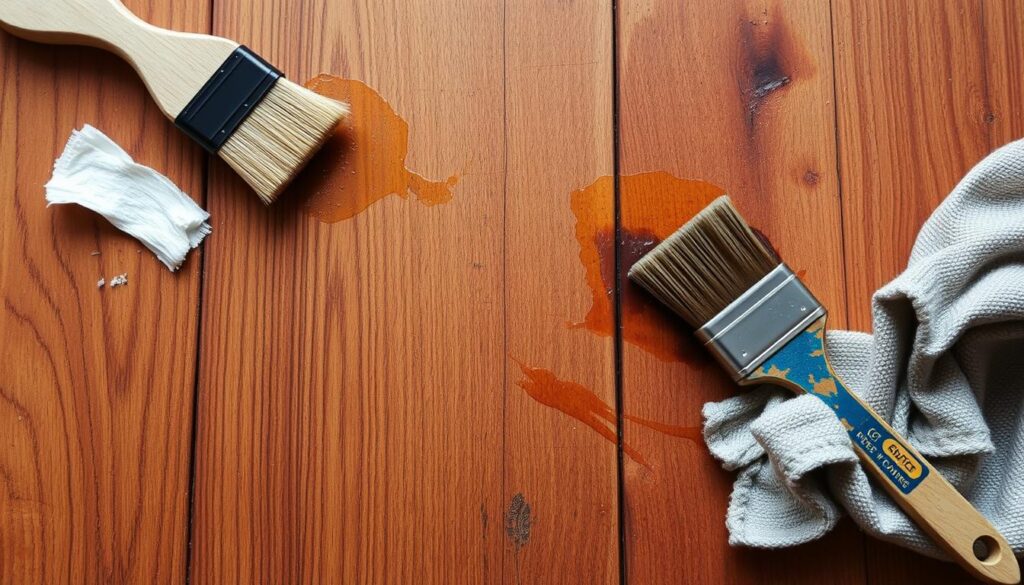
One big mistake is not preparing the surface well. Not sanding enough or not removing old finishes can cause uneven stain absorption. This leads to a blotchy look. Another mistake is applying stain unevenly. Using too much or too little in some spots can create dark spots or streaks that are hard to fix.
- Improper surface preparation
- Uneven stain application
- Applying the wrong type of stain
- Failing to properly clean the surface
- Applying the stain in direct sunlight or high heat
To avoid these wood staining errors, follow the manufacturer’s instructions carefully. Take your time and use the right tools and techniques. By focusing on surface preparation, stain application, and drying times, you can get a beautiful, lasting finish on your red oak projects.
| Common Mistake | Cause | Solution |
|---|---|---|
| Uneven color | Inadequate surface preparation, inconsistent stain application | Thoroughly sand and clean the surface, apply stain evenly |
| Blotchy appearance | Uneven absorbency of the wood, using the wrong type of stain | Use a pre-conditioner, choose a stain suited for red oak |
| Peeling or flaking | Insufficient drying time, applying stain in direct sunlight | Allow proper drying and curing time, stain in a shaded area |
By avoiding these common wood staining errors and stain application mistakes, you can ensure a beautiful, lasting finish on your red oak projects. If you run into any problems, don’t hesitate to reach out to our team at Timber Tropics for expert troubleshooting wood finishes advice. You can contact us at +6282332572828 or info@timbertropics.com.

Top Brands and Product Reviews
Choosing the right wood stain brands is key for your red oak surfaces. The market has everything from premium high-end stains to budget-friendly affordable wood finishes. Let’s explore the top stain product reviews to guide your choice.
Premium Stain Options
For top-notch results, go for wood stain brands like Minwax, Varathane, and Behr. These high-end stains offer great color, even finish, and long-lasting protection. They might cost more, but they’re worth it for the best quality.
Budget-Friendly Alternatives
Looking for something more affordable? INSL-X, Rust-Oleum, and Thompsons have stain product reviews that show they’re great value. These wood stain brands are ideal for DIY projects or those on a budget.
| Brand | Product | Price Range | Key Features |
|---|---|---|---|
| Minwax | Wood Finish | $10-$30 | Oil-based, durable, wide color selection |
| INSL-X | Cabinet Coat | $20-$40 | Water-based, low odor, fast drying |
| Rust-Oleum | Ultimate Wood Stain | $8-$20 | Oil-based, penetrating formula, budget-friendly |
Whether you’re on a tight budget or have specific needs, research wood stain brands and read stain product reviews. The right choice will give you beautiful, lasting results. For more info, email us at info@timbertropics.com or call +6282332572828.
Maintenance and Care for Stained Red Oak Surfaces
Keeping your stained red oak surfaces looking great is key. It’s all about wood finish maintenance and stain touch-ups. The right care can make your wood last longer and keep your spaces beautiful.
Cleaning Stained Wood Surfaces
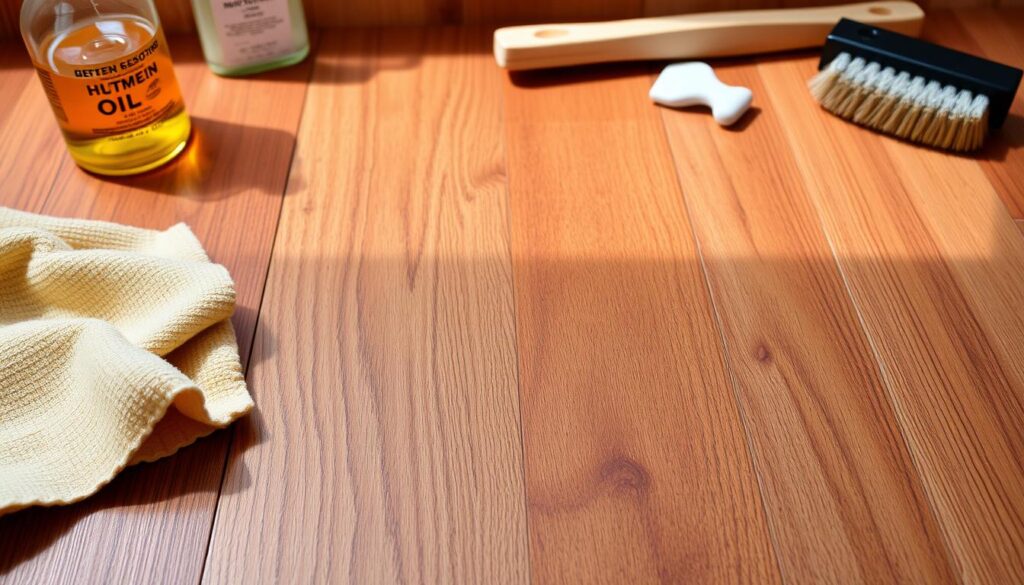
Cleaning your stained red oak regularly is crucial. Use a gentle, pH-neutral wood cleaner and a soft cloth. This way, you avoid damaging the wood finish.
Protecting and Preserving Wood Color
To keep the wood color bright, apply a wood sealant or polycrylic finish every 12-18 months. This protects the stain from UV rays, moisture, and daily wear. Touching up with the original stain also helps keep the color right.
Addressing Stain Imperfections
- For small stain touch-ups, use a bit of the original stain and a cotton swab. This blends in scratches or worn spots.
- For bigger damage, you might need to re-stain the area. Follow the manufacturer’s guide for prep and application.
| Maintenance Task | Frequency | Purpose |
|---|---|---|
| Cleaning | Every 6-12 months | Wood finish maintenance and preserving the surface |
| Sealant or Polycrylic Application | Every 12-18 months | Preserving wood color and protecting the finish |
| Stain Touch-ups | As needed | Addressing stain imperfections and maintaining the desired appearance |
By following these easy steps, your stained red oak will stay vibrant and protected. For any questions or concerns, reach out to us at +6282332572828 or info@timbertropics.com.

Conclusion
Starting your red oak staining journey? You’ve got a lot to learn from this guide. It’s not just about getting the right color. It’s about knowing the wood, picking the best finish, and applying it right.
Whether you’re doing it yourself or hiring pros, this guide has you covered. It teaches you to prepare the surface, pick the right stain, and apply it correctly. This way, your red oak will look amazing.
Need more help? Call our team at Timber Tropics at +6282332572828 or email us at info@timbertropics.com. We’re ready to help you make your red oak projects shine. Happy staining!
Related article : Buy Red Oak Hardwood – Premium Quality Floors
