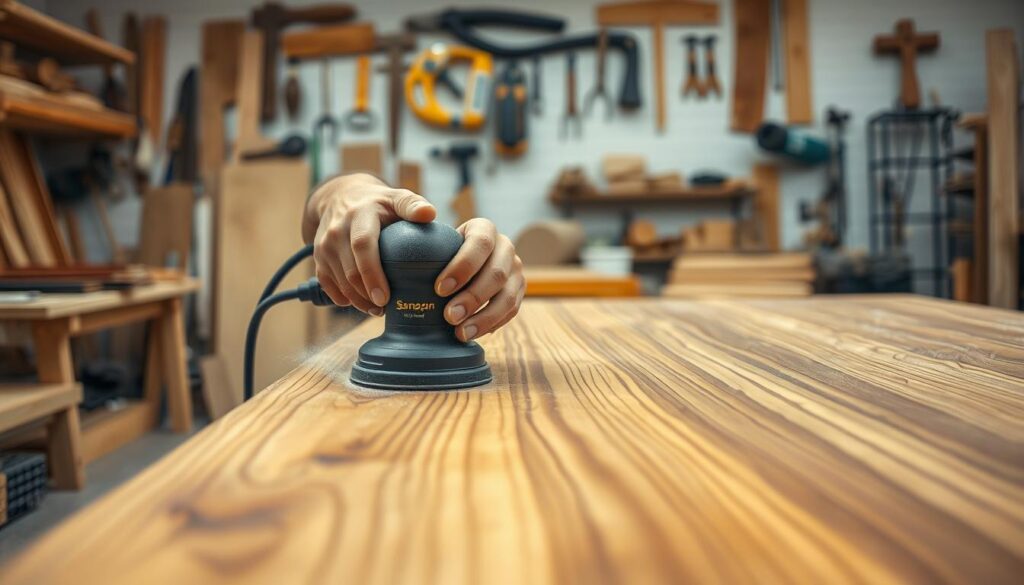
Discover the secrets to sanding teak wood like a pro. Our 5-step guide covers everything you need to know how to sand teak wood.
Teak wood is strong and looks great, but it needs special care when sanding. With the right tools and methods, you can get a smooth finish on your projects. Sanding teak wood brings out its natural beauty.

It’s important to sand teak wood right to avoid damage and get a lasting finish. This article will show you how to sand teak wood. We’ll give you the steps and tips you need for a professional finish.
Key Takeaways
- Teak wood requires special care and attention when it comes to sanding
- Proper teak wood sanding techniques are essential to prevent damage
- Teak wood sanding is a crucial step in bringing out the natural beauty of the wood
- The right tools and techniques are necessary to achieve a smooth finish
- Teak wood sanding can be done in 5 easy steps
Understanding Teak Wood’s Unique Properties
Teak wood is known for its special traits. It has a lot of natural oil and a unique grain pattern. These need special care when sanding to get a smooth finish.
The oil in teak wood protects it from moisture and decay. But, it also makes sanding harder. Specialized sanding techniques are needed to get a top-notch finish.
Natural Oil Content and Grain Pattern
The grain of teak wood is straight, which can lead to scratches. So, careful sanding is key. Knowing about the oil and grain helps you sand effectively to show the wood’s beauty.
Why Teak Requires Special Sanding Techniques
Teak wood needs special sanding to look smooth. Its oil and grain require a careful approach. The right techniques and materials help you get a professional finish.
The Impact of Weather and Age on Teak
Weather and age can change teak wood. Sunlight, moisture, and extreme temperatures can cause fading, cracking, or discoloration. When sanding, consider the wood’s age and weather exposure.
Understanding teak wood’s properties and how weather and age affect it helps. The right sanding techniques and materials can restore and preserve its beauty. This way, you can get a smooth finish that highlights the wood’s unique qualities.
Essential Tools and Materials for Sanding Teak
To get a professional finish on your teak wood projects, you need the right tools and materials. Wood finishing needs detail and the right equipment. For sanding teak, you’ll need sandpaper, sanding blocks, and various wood finishes.
Choosing the right sandpaper is key for a great finish. It should handle teak wood’s oil and grain well. Aluminum oxide and silicon carbide are good options for teak.
Video source from Youtube
Sanding blocks are also crucial for a smooth finish. They keep the sandpaper flat and prevent uneven sanding. Choose a sanding block based on your desired finish. Foam blocks work well with polyurethane, while felt blocks are better for oil-based finishes.
- Sandpaper: aluminum oxide, silicon carbide
- Sanding blocks: foam, felt
- Wood finishes: polyurethane, oil-based
Using the right tools and materials will help you get a top-notch wood finishing result. This will make your teak wood projects look better and last longer. Always follow safety rules and use proper ventilation when working with sandpaper and wood finishes.
| Tool | Description |
|---|---|
| Sandpaper | Used for sanding and smoothing teak wood surfaces |
| Sanding Block | Helps to keep sandpaper flat and prevent uneven sanding |
| Wood Finish | Applied to protect and enhance the appearance of teak wood |
Preparing Your Workspace for Teak Sanding
Before you start sanding your teak wood project, make sure your workspace is ready. This is key for teak wood care. It prevents damage to the wood and your workspace. A good workspace also makes your work easier and more effective.
First, think about ventilation. Sanding teak wood can make dust and debris fly around. Good ventilation helps clear the air, making your workspace safer. Also, cover your work surface to avoid dust and debris damage. Use something easy to clean and durable.
Setting Up Proper Ventilation
Good ventilation is crucial for a safe work area. Open windows, use fans, or get a ventilation system. Always wear a dust mask when sanding to avoid breathing in dust.
Surface Protection Requirements
To protect your work surface, use a plastic sheet or a canvas drop cloth. This keeps dust and debris off. Make sure your surface is level and stable to avoid accidents.
Safety Equipment Checklist
Having a safety checklist is important. It should include a dust mask, safety glasses, and a first aid kit. Wear protective clothes like long sleeves and pants to avoid skin irritation.
By following these steps, you can have a safe and successful teak sanding experience. Always remember to prioritize teak wood care and protect yourself and your workspace.
How to Sand Teak Wood: The Complete Process
To get a smooth finish on teak wood, you need to follow a step-by-step sanding process. It’s important to use the right wood sanding tools and techniques. This helps remove imperfections and highlights the wood’s natural beauty.
When sanding teak wood, consider a few key things. These include the sandpaper type and the grit progression. Here are some important points:
- Start with a coarse-grit sandpaper (about 80-100 grit) to remove any imperfections or old finishes.
- Then, switch to a medium-grit sandpaper (120-150 grit) to smooth out the wood and remove scratches.
- Finally, use a fine-grit sandpaper (220-240 grit) to get a high-gloss finish.
Popular wood sanding tools for teak wood include belt sanders, orbital sanders, and hand sanders. Each tool has its own benefits and drawbacks. The choice depends on your project and desired finish.

By following these steps and using the right wood sanding tools, you can get a beautiful, smooth finish on your teak wood project.
| Sanding Tool | Grit Progression | Application |
|---|---|---|
| Belt Sander | 80-100 grit | Rough sanding |
| Orbital Sander | 120-150 grit | Medium-grit sanding |
| Hand Sander | 220-240 grit | Fine-grit finishing |
Common Mistakes to Avoid When Sanding Teak
When sanding teak wood, many mistakes can ruin your project. To get a smooth finish, it’s key to steer clear of these errors. Common mistakes include using the wrong sandpaper, sanding too hard, and not wearing safety gear.
Here are some mistakes to avoid when sanding teak wood:
- Using the wrong grit sandpaper, which can lead to scratches or uneven surfaces
- Sanding too aggressively, which can damage the wood or create swirl marks
- Not using proper safety equipment, such as gloves or a dust mask, which can put your health at risk
To avoid these mistakes, knowing the right sanding techniques for teak wood is crucial. This means using the correct sandpaper, sanding with the wood grain, and working in a well-ventilated area. By following these tips, you can get a beautiful finish for your teak wood project.
By knowing these common mistakes and taking precautions, you can have a successful teak wood sanding project. Always use the right sanding techniques and take your time for the best results.
| Mistake | Consequence | Prevention |
|---|---|---|
| Using the wrong grit sandpaper | Scratches or uneven surfaces | Choose the right grit sandpaper for the job |
| Sanding too aggressively | Damage to the wood or swirl marks | Sand in the direction of the wood grain, using light pressure |
| Not using proper safety equipment | Health risks | Wear gloves, a dust mask, and work in a well-ventilated area |
Selecting the Right Sandpaper Grits
Choosing the right sandpaper grits is key for a smooth finish on teak wood. Teak wood care needs attention to detail. The right grits can make a big difference in wood finishing.
Understanding grit numbers and how to move from one to another is important. This step is crucial for removing imperfections and getting a top-quality finish.
Understanding Grit Numbers
Grit numbers show the size of the sandpaper’s abrasive particles. Lower numbers mean larger particles, and higher numbers mean smaller ones. For teak wood, start with a lower grit and move up for a smooth finish.
Progression of Grits for Teak
A common sanding progression for teak wood is:
- 80-100 grit for initial rough sanding
- 120-150 grit for medium-grit sanding
- 220-240 grit for fine-grit finishing
Special Considerations for Different Teak Projects
Teak projects like furniture, decking, or flooring might need different grit progressions. It’s important to consider each project’s unique needs and adjust the grit progression accordingly.
By following the right grit progression and considering each project’s needs, you can get a high-quality finish. This ensures proper wood finishing and teak wood care.
| Grit Number | Description | Use |
|---|---|---|
| 80-100 | Rough sanding | Removing imperfections |
| 120-150 | Medium-grit sanding | Smoothing the surface |
| 220-240 | Fine-grit finishing | Achieving a high-gloss finish |
Post-Sanding Care and Treatment
After sanding your teak wood, it’s key to apply a finish. This protects the wood and keeps it looking good. You can choose from oil-based or water-based finishes, depending on what you want.
Think about the wood sanding tools you used. This affects the finish you should pick. For example, a high-grit sandpaper might need a finish that highlights its smoothness.
- Prepare the surface by cleaning it with a soft cloth
- Apply a thin, even layer of finish using a clean cloth or brush
- Allow the finish to dry according to the manufacturer’s instructions
- Apply additional coats as needed to achieve the desired level of protection and appearance
By following these steps and choosing the right finish, you’ll get a beautiful, durable surface. It will last through weather and daily use. Always follow the instructions for your finish and wood sanding tools.
| Finish Type | Characteristics | Suitability |
|---|---|---|
| Oil-based | Provides a rich, warm glow | Indoor and outdoor applications |
| Water-based | Offers a clear, non-yellowing finish | Indoor applications, sensitive surfaces |
Professional Tips for Achieving a Smooth Finish
To get a professional look on your teak wood project, it’s key to work with the wood’s grain. You also need to handle tricky spots and corners well. The right sanding and finishing methods will help you get a smooth surface that highlights the teak wood’s beauty.
Sanding techniques are crucial for a smooth finish on teak wood. Use finer grits of sandpaper to smooth out imperfections and get a glossy finish. The right wood finishes can also make the wood look better and protect it from the weather.
Working with Teak’s Natural Grain
Teak wood’s unique grain needs special care when sanding and finishing. Mix hand sanding with power sanding to remove flaws and smooth out the surface. This approach will enhance the wood’s natural beauty and give you a durable, attractive finish.

Managing Difficult Areas and Corners
It can be tough to sand and finish tricky spots and corners. But, there are ways to make it easier. Use sanding blocks and hand sanding to tackle imperfections and achieve a smooth finish. A wood finish made for teak wood can also improve these areas and make the finish look even.
By using these professional tips and the right sanding and finishing methods, you can get a smooth, professional finish on your teak wood project. Always work with the wood’s grain and take your time to sand and finish each area. This will help you achieve a beautiful, lasting finish.
| Sanding Technique | Wood Finishing Method | Result |
|---|---|---|
| Hand Sanding | Oil-Based Finish | Smooth, High-Gloss Finish |
| Power Sanding | Water-Based Finish | Durable, Low-Maintenance Finish |
Maintaining Your Sanded Teak Surface
To keep your teak wood project looking great, regular teak wood care is key. This means cleaning and keeping the surface safe to protect the wood and its look. Cleaning your sanded teak surface often is crucial. Use a mild soap and water solution, but be gentle to avoid scratches.
Using the right wood sanding tools is also vital. They help fix any rough spots or scratches. This keeps the finish smooth and the wood safe. Here are some more tips for caring for your sanded teak surface:
- Apply a teak sealant or oil to shield the wood from the weather
- Stay away from harsh chemicals or abrasive cleaners
- Check the surface often for wear or damage
By following these tips and using the right teak wood care and wood sanding tools
| Teak Wood Care Tips | Benefits |
|---|---|
| Regular cleaning | Helps to maintain appearance and prevent damage |
| Using the right wood sanding tools | Helps to maintain a smooth finish and prevent scratches |
| Applying a teak sealant or oil | Helps to protect the wood from the elements |
Troubleshooting Common Teak Sanding Issues
Teak wood sanding can be tricky, even with the right tools and techniques. Issues like rough spots, uneven surfaces, and sanding marks can pop up. Knowing how to fix these problems is key to getting a smooth finish.
Choosing the right sanding techniques is crucial to avoid common problems. By doing so, you can reduce the chance of getting rough spots and uneven surfaces. If these issues do happen, there are steps you can take to correct them.
Dealing with Rough Spots
Rough spots often come from not sanding enough or using the wrong sandpaper. To smooth out these areas, start by sanding again with a finer grit sandpaper. This will help remove any imperfections.
Addressing Uneven Surfaces
Uneven surfaces can be due to uneven sanding or wood warping. To fix this, use a sanding block to sand the area evenly. You can also use a filler for low spots and then sand it down for a smooth finish.
Fixing Sanding Marks
Sanding marks usually come from using the wrong sandpaper or sanding the wrong way. To remove these marks, sand the area again with a finer grit sandpaper. A sanding sponge can also help in removing marks.
By following these tips, you can solve common teak sanding problems and get a smooth finish. Always use the right techniques and tools to avoid issues and ensure a successful project.
| Common Issue | Cause | Solution |
|---|---|---|
| Rough Spots | Inadequate sanding or wrong grit sandpaper | Re-sand with finer grit sandpaper |
| Uneven Surfaces | Uneven sanding or warping of wood | Use sanding block and filler to even out surface |
| Sanding Marks | Wrong sandpaper or sanding in wrong direction | Re-sand with finer grit sandpaper and use sanding sponge |
Conclusion
Sanding teak wood is a delicate task that needs skill, patience, and detail. By following the steps and expert tips in this guide, you’re ready to handle complex wood finishing projects. This includes working with teak, a remarkable material.
Teak wood care goes beyond sanding. Keeping your sanded teak looking great requires constant attention and the right tools. Use the techniques and advice given to keep your teak projects looking vibrant and durable for years.
Now, you can turn raw teak into beautiful, refined pieces that impress everyone. Embrace teak’s unique qualities and let your creativity shine as you master sanding teak wood.
FAQ
What are the unique properties of teak wood that require special sanding techniques?
Teak wood is special because it has lots of natural oil and a unique grain pattern. These features mean you need to sand it carefully to get a smooth finish.
What are the essential tools and materials needed for sanding teak wood?
You’ll need sandpaper, sanding blocks, wood finishes, and safety gear like dust masks and eye protection.
How should I prepare my workspace for sanding teak wood?
Make sure your workspace has good ventilation. Protect your work surface and have all safety gear ready.
What are the steps involved in the complete process of sanding teak wood?
Sanding teak wood involves several steps. Start with rough sanding, then move to medium-grit sanding. Finish with fine-grit sanding using different tools like belt sanders and hand sanders.
What are some common mistakes to avoid when sanding teak wood?
Avoid using the wrong grit sandpaper and sanding too hard. Also, don’t forget to wear proper safety gear.
How do I select the right sandpaper grits for sanding teak wood?
Choose the right grit sandpaper by understanding the numbers. Start with coarse grits and move to finer ones. Consider your project’s needs.
What post-sanding care and treatment should I provide for my teak wood project?
After sanding, apply the right finish. This could be oil-based or water-based to protect and enhance the wood.
What professional tips can I use to achieve a smooth finish on my teak wood project?
To get a smooth finish, work with the wood’s grain. Manage tricky areas and corners well. Apply finishes correctly.
How do I maintain the sanded teak surface on my project?
Keep the surface clean by removing dirt and stains. Use touch-up finishes as needed.
How can I troubleshoot common teak sanding issues, such as rough spots, uneven surfaces, and sanding marks?
For common issues, try re-sanding or applying more finishes. Address specific problem areas.
Read also : The Ultimate Guide to Sealing Teak Wood: Enhance Durability
