Learn how to install 3/4″ prefinished hardwood flooring with this DIY guide. Get step-by-step instructions for a seamless installation.
Installing 3/4 prefinished hardwood flooring can be a rewarding DIY project, enhancing the beauty and value of your home. Proper installation is crucial for a seamless and durable finish.
A well-executed hardwood flooring installation requires careful planning and attention to detail. By following a step-by-step guide, homeowners in the United States can achieve professional-looking results without the hefty price tag.

With the right tools and a bit of patience, DIY enthusiasts can successfully install their own DIY flooring, enjoying the warmth and elegance that hardwood floors bring to a home.
Key Takeaways
- Proper installation is key to a seamless and durable finish.
- A step-by-step guide can help homeowners achieve professional-looking results.
- Careful planning and attention to detail are crucial for a successful installation.
- DIY hardwood flooring installation can be a cost-effective and rewarding project.
- Hardwood floors add warmth and elegance to a home.
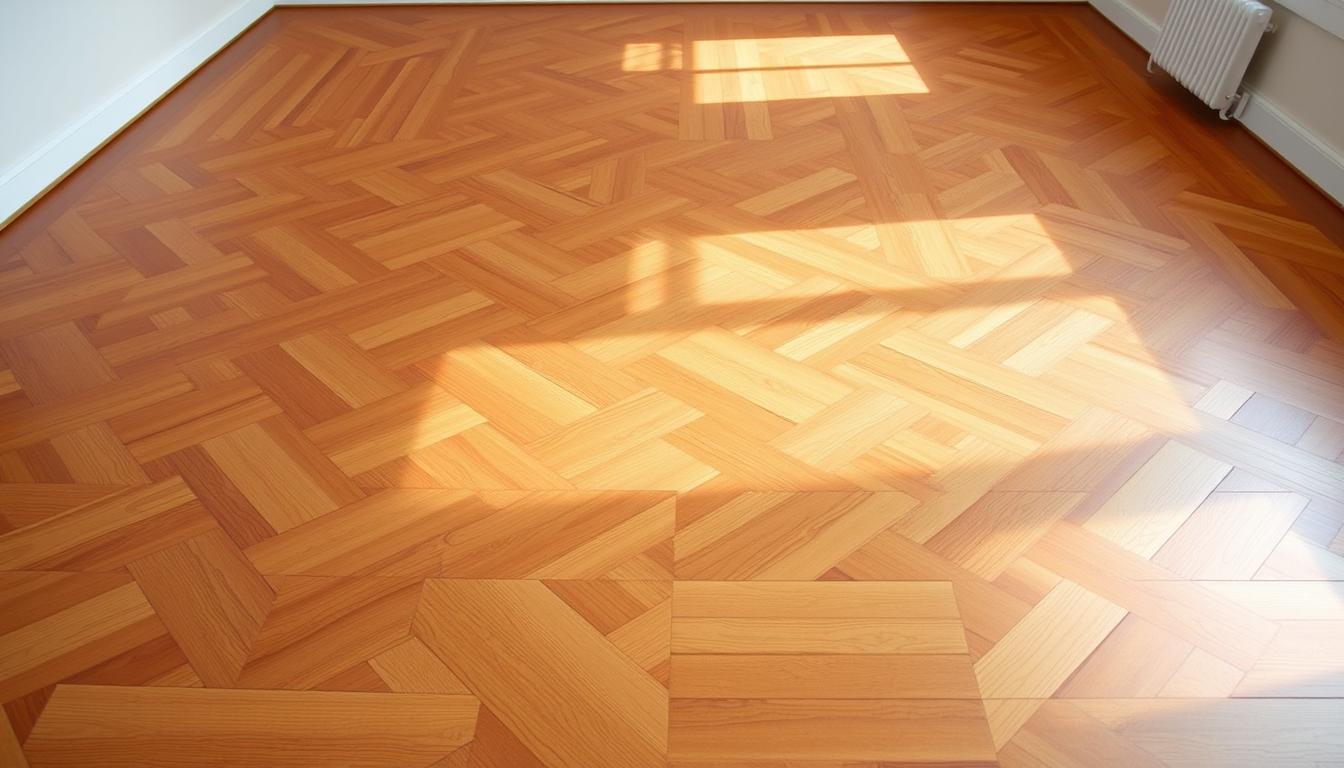
Understanding 3/4 Prefinished Hardwood Flooring
For those seeking a blend of style, durability, and cost-effectiveness, 3/4 prefinished hardwood flooring is an excellent flooring solution. This type of flooring is renowned for its thickness, which contributes to its durability and longevity.
Benefits of Prefinished vs. Unfinished Hardwood
Prefinished hardwood flooring offers several advantages over its unfinished counterpart. It is factory-finished, which means it is sanded, stained, and coated with a protective finish before installation, saving time and reducing on-site mess. Additionally, prefinished hardwood is generally more durable right out of the box.
Common Wood Species and Their Characteristics
Common wood species used for 3/4 prefinished hardwood flooring include Oak, Maple, and Cherry. Oak is prized for its durability and classic look, while Maple is valued for its light color and versatility. Cherry is admired for its rich, reddish-brown hue that deepens over time.
Thickness and Durability Factors
The 3/4 inch thickness of this flooring contributes to its durability and ability to withstand heavy foot traffic. The thickness also allows for multiple sandings and refinishing over its lifespan, extending its overall durability.
| Wood Species | Durability | Aesthetic Appeal |
|---|---|---|
| Oak | High | Classic, timeless look |
| Maple | High | Light, versatile |
| Cherry | Medium | Rich, reddish-brown |
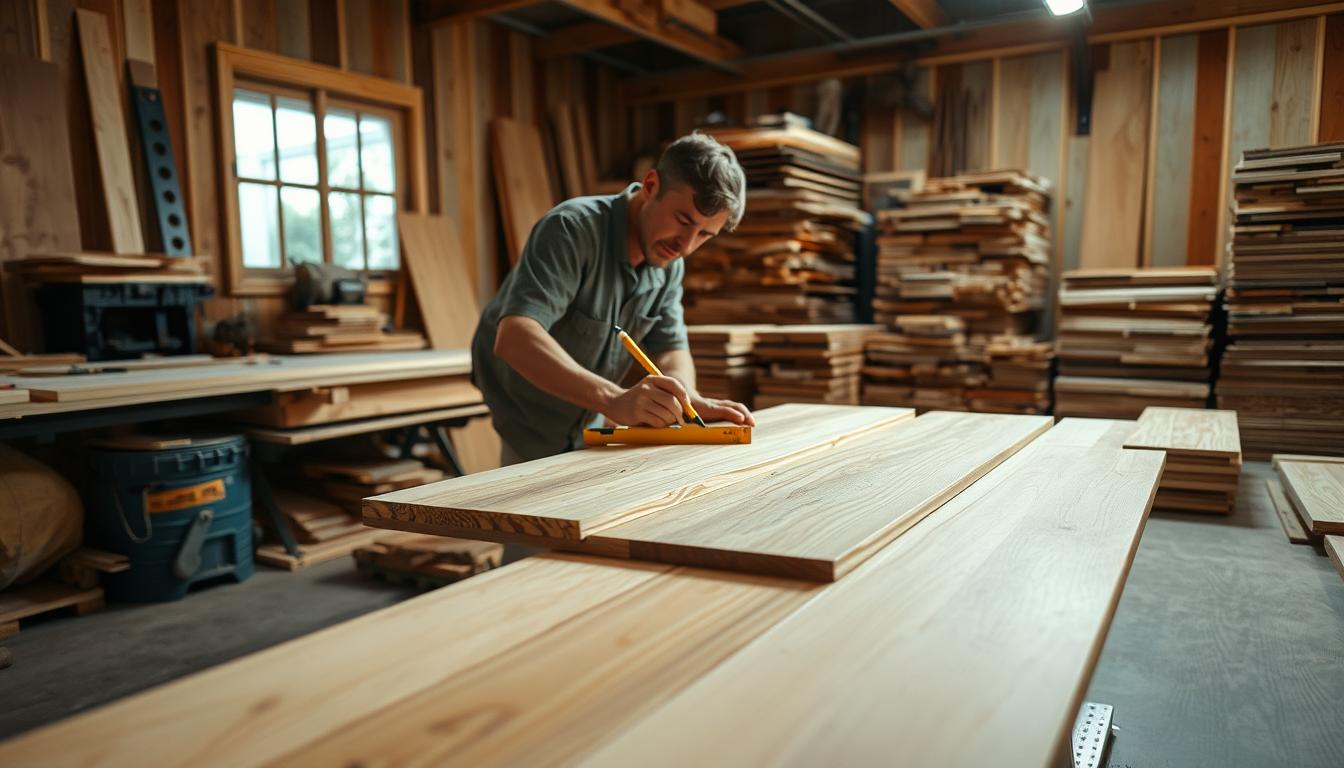
Essential Tools and Materials for Installation
Embarking on a DIY hardwood flooring project requires a thorough understanding of the essential tools and materials needed. To ensure a successful installation, it’s crucial to be well-prepared with the right equipment and supplies.
Required Tools Checklist
Having the correct tools is vital for an efficient and high-quality installation. The essential tools include:
- Table saw or circular saw for cutting hardwood flooring
- Nailer or stapler for securing the flooring to the subfloor
- Tapping block and pull bar for fitting the flooring snugly
- Measuring tape and chalk line for ensuring accurate measurements and layouts
- Drill and bits for making precise holes for vents or other obstructions
Materials and Supplies Needed
In addition to the right tools, having the necessary materials and supplies is critical. These include:
| Material/Supply | Description | Quantity |
|---|---|---|
| 3/4″ Prefinished Hardwood Flooring | The actual flooring material | Based on room dimensions |
| Underlayment Material | For reducing noise and providing a smooth surface | Dependent on subfloor condition |
| Nails or Staples | For securing the flooring | As recommended by the flooring manufacturer |
| Adhesive (if necessary) | For certain types of underlayment or flooring | As per manufacturer’s instructions |
Video source from Youtube
Safety Equipment Recommendations
Safety should never be compromised. Essential safety equipment includes:
- Safety glasses to protect your eyes from debris
- Hearing protection to safeguard against loud noises from power tools
- Dust mask to prevent inhalation of dust and particles
- Knee pads for comfort during the installation process
By ensuring you have all the necessary tools, materials, and safety equipment, you’ll be well-prepared to tackle your DIY hardwood flooring installation project with confidence.
Preparing Your Subfloor for Installation
Subfloor preparation is a critical step that ensures the longevity and stability of your 3/4 prefinished hardwood flooring. A well-prepared subfloor is essential for a successful installation, serving as a solid foundation for your new flooring. As part of our comprehensive flooring guide, we will walk you through the crucial steps of subfloor preparation, providing valuable hardwood flooring tips along the way.
Assessing Subfloor Condition
The first step in subfloor preparation is assessing its condition. Check for any signs of damage, unevenness, or old adhesive residue. Inspect the subfloor for cracks, uneven areas, and any signs of water damage. This assessment will help you identify any potential issues that need to be addressed before proceeding with the installation.
Cleaning and Leveling the Subfloor
Once you’ve assessed the subfloor condition, the next step is to clean and level it. Thoroughly clean the subfloor to remove dirt, dust, and any old adhesive. Use a leveling compound to fill in any uneven areas or cracks, ensuring the subfloor is smooth and level. This step is crucial for a successful installation, as it prevents any irregularities in the hardwood flooring.
| Subfloor Condition | Recommended Action |
|---|---|
| Uneven or cracked | Apply leveling compound |
| Damaged or rotten | Replace damaged sections |
| Dirty or dusty | Thoroughly clean |
Moisture Testing and Vapor Barriers
Moisture testing is a critical step in subfloor preparation. Use a moisture meter to check the subfloor’s moisture levels. Excessive moisture can damage your hardwood flooring, so it’s essential to ensure the subfloor is dry enough for installation. If necessary, install a vapor barrier to prevent moisture from seeping into your hardwood flooring.
By following these steps and taking the time to properly prepare your subfloor, you can ensure a successful 3/4 prefinished hardwood flooring installation that will last for years to come.
Planning Your Layout for Optimal Results
Effective layout planning is the key to achieving a visually appealing and professional-looking hardwood floor. A well-planned layout not only enhances the aesthetic value of your space but also ensures a smoother installation process.
Measuring and Room Layout Considerations
Before you begin, it’s crucial to measure your room accurately. This includes noting the location of doorways, closets, and any other obstacles that could affect your installation. Creating a detailed sketch of your room can help you visualize the layout and make necessary adjustments. Consider the width of your boards and plan the layout to minimize cutting and waste.
For an optimal layout, consider the direction of the hardwood flooring in relation to the room’s dimensions. Typically, installing the flooring parallel to the longest wall creates a more balanced look.
| Room Dimension | Recommended Board Direction | Benefits |
|---|---|---|
| Long and Narrow | Parallel to the longest wall | Creates a balanced look, makes the room appear wider |
| Square or Wide | Parallel to the main entry or focal point | Enhances the room’s aesthetic, directs the viewer’s eye |
Determining Board Direction and Pattern
The direction and pattern of your hardwood flooring can significantly impact the overall appearance of your floor. Popular patterns include straight lay, herringbone, and chevron. The choice of pattern should be based on the room’s design, the type of hardwood, and personal preference.
“The direction of the flooring can either enhance or detract from the overall aesthetic of a room. It’s essential to choose a direction that complements the space.”
For a traditional look, a straight lay pattern is often preferred, while herringbone and chevron patterns add a more sophisticated, dynamic feel.
Acclimating Your Flooring Materials
Acclimation is a critical step that should not be overlooked. Allow your prefinished hardwood flooring to acclimate to the room’s temperature and humidity for at least 24 to 48 hours before installation. This step helps prevent issues such as warping or buckling after installation.
To acclimate your flooring, leave the boxes unopened but spaced apart in the room where the installation will take place. This allows the wood to adjust to the environment, ensuring a more stable installation.
Step-by-Step 3 4 Prefinished Hardwood Flooring Installation
For a successful 3/4 prefinished hardwood flooring installation, follow these step-by-step guidelines. Installing hardwood flooring can significantly enhance your home’s beauty and value, and with the right instructions, it’s a feasible DIY project.
Installing the First Row
The first row of your hardwood flooring installation sets the foundation for the entire project. Begin by determining the direction of your flooring based on your room’s layout. Typically, it’s recommended to install hardwood flooring parallel to the longest wall in the room.
Start by nailing the first plank along the wall, ensuring it’s perfectly aligned. Use spacers to maintain a consistent gap between the flooring and the wall, allowing for expansion.
Continue installing the first row, ensuring each plank is tightly fitted together. Use a tapping block and a hammer to tap the planks into place securely.
Nailing or Stapling Techniques
Nailing or stapling is a critical step in securing your hardwood flooring. For 3/4 prefinished hardwood, you can use either a nailer or stapler specifically designed for this thickness of wood.
Begin by nailing or stapling the first row at an angle through the tongue of the plank. Ensure the nail or staple is driven in flush with the wood surface. For subsequent rows, continue nailing or stapling at the same angle, making sure to offset the nails or staples for added stability.
A table outlining the recommended nailing or stapling patterns can help clarify the process:
| Nailing/Stapling Pattern | Description |
|---|---|
| Face nailing | Nailing directly through the face of the plank, typically used for the first row or around obstacles. |
| Angled nailing | Nailing at an angle through the tongue of the plank, recommended for most installations. |
| Stapling | Similar to angled nailing but uses staples instead. |
Maintaining Proper Expansion Gaps
Expansion gaps are crucial for allowing your hardwood flooring to expand and contract with temperature and humidity changes. A gap of about 1/4 to 1/2 inch should be maintained around the perimeter of the room.
Use spacers during installation to ensure this gap is consistent. After installation, these spacers can be removed, and the gaps can be covered with baseboards or quarter rounds.
Working Around Obstacles and Doorways
One of the challenges in hardwood flooring installation is working around obstacles such as heating vents, doorways, and irregularly shaped rooms. Careful planning and precise cutting are essential.
For doorways, you may need to trim the door jambs to fit the flooring underneath. Use a pull bar and a hammer to tap the flooring into place tightly around doorways and other tight spaces.
For heating vents and other obstacles, precise cutting with a jigsaw or a miter saw can help achieve a clean fit.
Cutting and Fitting Techniques for a Professional Finish
Achieving a professional finish in hardwood flooring installation requires precise cutting and fitting techniques. These critical steps can make or break the overall appearance of your floors.
Making Precise Cuts with the Right Tools
To achieve a flawless installation, it’s essential to use the right tools for cutting hardwood. A table saw or circular saw is ideal for making straight cuts, while a miter saw is perfect for precise angled cuts. For more intricate cuts, a jigsaw or coping saw can be used.
Always ensure your tools are sharp and well-maintained to avoid damaging the wood or causing accidents.
End Joint Placement Strategies
End joints should be staggered to enhance the floor’s durability and visual appeal. A common strategy is to ensure that end joints are not aligned in adjacent rows, creating a random pattern. This not only improves the aesthetic but also strengthens the floor.
When possible, try to place end joints under furniture or in areas where they are less noticeable, such as under doorways or in closets.
Working with Irregular Spaces and Corners
Irregular spaces and corners can be challenging, but with the right techniques, they can be handled effectively. Use a template or pattern to help guide your cuts in complex areas. For corners, cutting the flooring at a 45-degree angle can create a seamless joint.
For unique or curved areas, consider using a jigsaw or bandsaw to make precise cuts. Always double-check your measurements before cutting to avoid costly mistakes.
Installing the Final Rows and Trim Work
With the bulk of the flooring installed, the next crucial step is tackling the final rows and trim work. This stage requires precision and attention to detail to achieve a professional finish.
One of the challenges during this phase is handling narrow spaces, which demands specific techniques to ensure a seamless fit.
Techniques for Narrow Spaces
When dealing with narrow spaces, it’s essential to carefully measure and cut the hardwood to fit perfectly. Using a jigsaw or a miter saw can help achieve precise cuts. Additionally, ensuring that the flooring material is properly acclimated to the environment can prevent issues with fitting.
A common issue in narrow spaces is the risk of damaging the flooring material during cutting. Using the right tools and techniques can mitigate this risk.
Installing Transition Moldings Between Rooms
Transition moldings are critical for a smooth transition between different flooring types or rooms. To install them, start by measuring the transition area and cutting the molding to the appropriate size. Secure the molding using adhesives or nails, depending on the type of molding and subfloor.
| Transition Type | Installation Method | Common Uses |
|---|---|---|
| T-molding | Nailing or Adhesive | Between two floors of equal height |
| Reducer Strip | Nailing or Adhesive | Between hardwood and a lower floor |
| Threshold | Nailing | At doorways, especially with door thresholds |
Transition moldings not only enhance the aesthetic appeal but also help in preventing damage at the transition areas.
Baseboard and Quarter Round Installation
Baseboards and quarter rounds are essential for covering the expansion gaps around the perimeter of the room. Begin by installing baseboards using nails or an adhesive, ensuring they are level and securely attached to the wall. Quarter rounds are then installed to cover any remaining gaps between the baseboard and the flooring.
These finishing elements not only add a polished look to your hardwood flooring installation but also help in hiding any minor irregularities.
Post-Installation Care and Maintenance
Maintaining your 3/4 prefinished hardwood flooring is straightforward and involves a few key practices to preserve its appearance and durability.
Initial Cleaning Procedures
Sweep or vacuum the floor to remove any debris. For more thorough cleaning, use a hardwood floor cleaner that is recommended by the manufacturer. Avoid using excessive water, as it can damage the finish.
Long-Term Maintenance Tips
Regularly inspect your flooring for signs of wear and tear. Use felt pads on the legs of furniture to prevent scratching. Maintain a consistent indoor climate to prevent shrinkage or expansion of the wood.
Addressing Minor Damage and Scratches
For minor scratches, use a touch-up kit that matches your flooring’s finish. For deeper scratches, consider consulting a professional for repair.
Conclusion
Installing 3/4 prefinished hardwood flooring can be a rewarding DIY flooring project, enhancing your home’s beauty and value. By following the steps outlined in this guide, you can achieve professional-looking results with careful planning and precise execution.
Proper preparation is key to a successful hardwood flooring installation. Ensuring your subfloor is level, clean, and dry is crucial. Additionally, acclimating your 3/4 prefinished hardwood flooring to the environment before installation helps prevent future issues.
With the right tools and techniques, you can overcome common challenges during installation. Maintaining proper expansion gaps and using the correct nailing or stapling techniques are essential for a durable and visually appealing finish.
After completing your DIY flooring project, proper maintenance is essential to preserve its appearance and longevity. Regular cleaning and addressing minor damage promptly will keep your hardwood flooring looking its best.
By taking on this project, you not only enhance your home but also gain the satisfaction of a job well done. With the knowledge gained from this guide, you’re well-equipped to tackle 3/4 prefinished hardwood flooring installation with confidence.
FAQ
What is the recommended acclimation period for 3/4 prefinished hardwood flooring?
Typically, 3/4 prefinished hardwood flooring should be acclimated for 3 to 5 days before installation, but this may vary depending on the manufacturer’s instructions and environmental conditions.
Can I install 3/4 prefinished hardwood flooring over existing flooring?
It’s generally not recommended to install 3/4 prefinished hardwood flooring over existing flooring, as this can lead to uneven surfaces, increased height issues, and potential moisture problems. It’s best to remove the existing flooring before installation.
What is the best way to clean 3/4 prefinished hardwood flooring after installation?
For initial cleaning, use a hardwood floor cleaner recommended by the manufacturer. For long-term maintenance, sweep or vacuum regularly, and clean spills immediately to prevent damage.
How do I handle uneven subfloors during 3/4 prefinished hardwood flooring installation?
To address uneven subfloors, use a self-leveling compound to level the surface or apply shims to adjust the flooring. Ensure the subfloor is clean, dry, and stable before proceeding with the installation.
What are the common wood species used for 3/4 prefinished hardwood flooring?
Common wood species include Oak, Maple, Cherry, and Walnut, each with its unique characteristics, such as grain pattern, color, and durability.
How do I maintain proper expansion gaps during 3/4 prefinished hardwood flooring installation?
To maintain proper expansion gaps, ensure a minimum of 1/4 inch gap between the flooring and walls, and use spacers during installation to maintain consistent gaps.
Can I install 3/4 prefinished hardwood flooring in kitchens and bathrooms?
While 3/4 prefinished hardwood flooring can be installed in kitchens, it’s not typically recommended for bathrooms due to excessive moisture. In kitchens, ensure proper installation, maintenance, and cleaning to minimize damage.
What are the benefits of 3/4 prefinished hardwood flooring compared to unfinished hardwood?
3/4 prefinished hardwood flooring offers several benefits, including faster installation, less mess, and a factory-finished surface that is more durable and resistant to wear.
How do I address minor scratches and damages on 3/4 prefinished hardwood flooring?
For minor scratches, use a hardwood floor touch-up marker or a scratch remover. For more significant damages, consult a professional for repair or refinishing.
Read also : Discover the Elegance – Choosing the Best 1 Wood Flooring